Guide on Creating an Impressionistic Landscape (Includes Video)
In a recent vibe, I unleashed a video walkthrough for my latest creation, titled Perth Gardens. Kick back and watch below if you've got the time, or keep rolling for the lowdown.
If you're strapped for minutes, here's a quick rundown:
The Reference
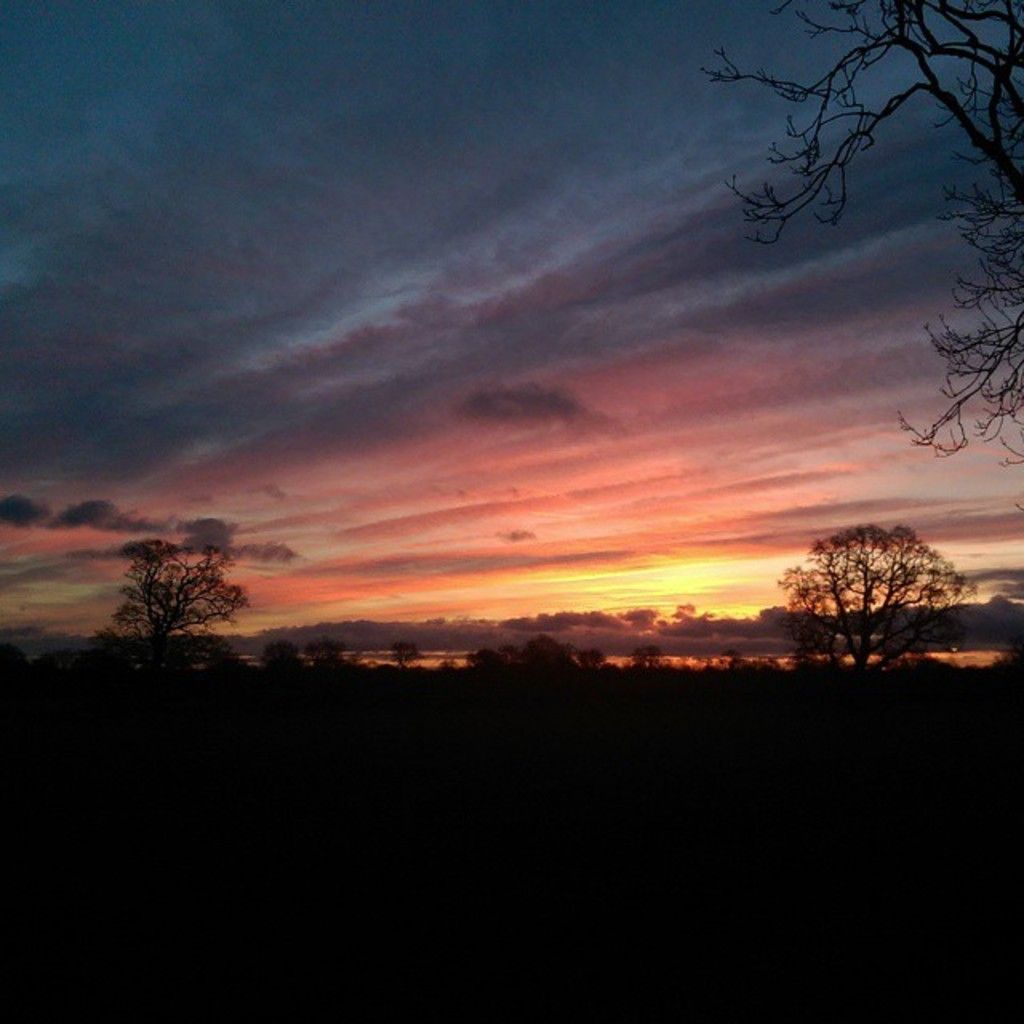
I snapped the inspiration for this masterpiece while I was in Perth, Australia with the family in 2023. You'll see the original reference photo I used just further below.
The Kit
Here's what I had on deck for this bad boy:
- Various brushes, palette knives
- Ampersand gessoboard, 12 x 16 inches
- Paper towel
- French easel
- Glass New Wave Palette
- Odorless solvent
- Tablet (for viewing reference photos)
- Colors: Titanium white, raw umber, ultramarine blue, cobalt blue, viridian green, magenta, cadmium red, cadmium orange, yellow ochre, cadmium yellow, and cadmium yellow light.
Stainin' The Canvas
I kick things off by staining the surface with transparent red oxide. This guts the white and sets the stage for a balanced painting surface. I usually steer clear of vibrant colors for the stain, preferring earthy browns, but it's all about feelin' yourself, baby.
I then wipe away excess paint with paper towel, roughing up the major shapes in the process. This gives me a chance to warm up and mess around with the composition. I can't mess this up 'cause I'll paint over it anyway, so why not get my creative juices flowin'?
First Brushstrokes
After an hour for the surface to dry, it's time to tackle the grass and ground. I'm not aiming for perfection, just getting some momentum built up. Each stroke will hint at what's to come. No need to stress over that first perfect stroke. Just get goin'!
I jump around the canvas, working on different sections, because I already got the color on my tools, and it's useful to take advantage of that. Plus, it adds a subtle color harmony between areas, swagging things out.
Skyward Bound
Next, I'm attacking the sky – a crucial part of the piece. The sky needs to stand out, so I aim for a nice contrast against the land. All comes down to the saturation. If it's too light, it looks nervous and weak; too dark, and there's no contrast. I gotta find the sweet spot, baby.
I'll stick with cobalt blue and titanium white for the base colors, darkening up with ultramarine blue for added richness. The clouds aren't the focal point, so I don't go crazy on the brushwork – wanna keep things cohesive, ya know?
I pay attention to overlaps at the edge where the sky meets the land, weaving the two together for a more organic look. I don't want it to be a smooth, rigid border. I want it to feel natural, like the leaves and trees.
Darkening Shadows
I go back to the land, making the shadows a tad darker to crank up the contrast with the sky. I then start working on the highlights, adding a touch of green and yellow to the plants and leaves, building texture and color variance in the process.
I pay special attention to the temperature, ensuring a warm/cool play in the ground colors, with warm yellows, reds, and oranges against the cool greens. I mix things up, using multicolored strokes, so no part of the ground looks the same – keeps things interesting.
Delve Into Details
I zoom in on the reference and focus on painting the basic shapes, forms, and colors, rather than the exact details. With the big picture in mind, I can stay true to my overall vision and not get lost in the nitty-gritty. It's a delicate balancing act, but I'm up for the challenge, baby.
Once the piece feels complete, I sign it in the bottom right-hand corner with magenta, settling on that spot for overall balance and design.
Here's my finished piece alongside the reference photo. I didn't aim to copy the photo, baby, but to create something interesting and true to my experience and vision of the subject.
I'm proud of what I achieved, reminded of that unforgettable day in Perth with Chontele and Elora. I had to simplify to grasp the chaos of all the detail, and I love how it turned out.
Feel free to drop thoughts or questions below, and if you're looking to up your art game, check out Draw Paint Academy. Keep creating, my friends!
Happy painting,
Dan Scott
Dan Scott, the man behind this work, is the founder of Draw Paint Academy. A self-taught artist from Australia, he has a thing for landscape paintings. Join the massive crowd of artists who subscribe to the Draw Paint Academy newsletter if you're keen to learn more.
In the realm of Dan Scott's artistic expression, you'll find that his latest creation, Perth Gardens, not only showcases his expertise in landscape painting but also blends seamlessly with the overall style of his work. His love for art extends beyond landscapes as well, as his inclination towards the world of fashion-and-beauty and home-and-garden is evident in his lifestyle.


)