Drilling precision into gypsum wallboard for crack and damage avoidance, ensuring neat theatrical holes
In the world of DIY, drilling into plasterboard walls can be a common task. Here's a comprehensive guide to help you navigate this process, ensuring safety and efficiency.
Firstly, it's essential to identify your plasterboard walls. The pushpin test is a simple method: if a pin slips in easily, chances are you're dealing with plasterboard. Tapping with a small thin screwdriver will often pop through and feel empty behind in plasterboard, while it fights resistance in plaster over brick. Additionally, plasterboard walls make a hollow sound when knocked.
To safely locate electrical wiring and plumbing before drilling, use an electronic stud, pipe, and wire detector. These devices scan the wall and indicate safe zones for drilling by detecting metal pipes, live electrical wires, and wooden studs behind the plasterboard.
Practical steps include checking for electrical outlets and switches. One side of their boxes is typically mounted to a stud. Use the "knock test" to tap on either side of the outlet or switch to find the stud side by identifying a solid sound versus a hollow one.
Measuring in 16-inch increments from corners or known stud locations based on typical stud spacing can help predict where studs and therefore wiring or pipes might run. Visually inspecting trim or baseboards for nail dimples that indicate stud locations can also be beneficial.
Avoid drilling blindly since wires and pipes may also run horizontally or vary depending on your home’s layout. Use combined methods—electronic detectors complemented by visual and tapping tests—to maximize safety. Always turn off power to the area if you suspect live wires before drilling.
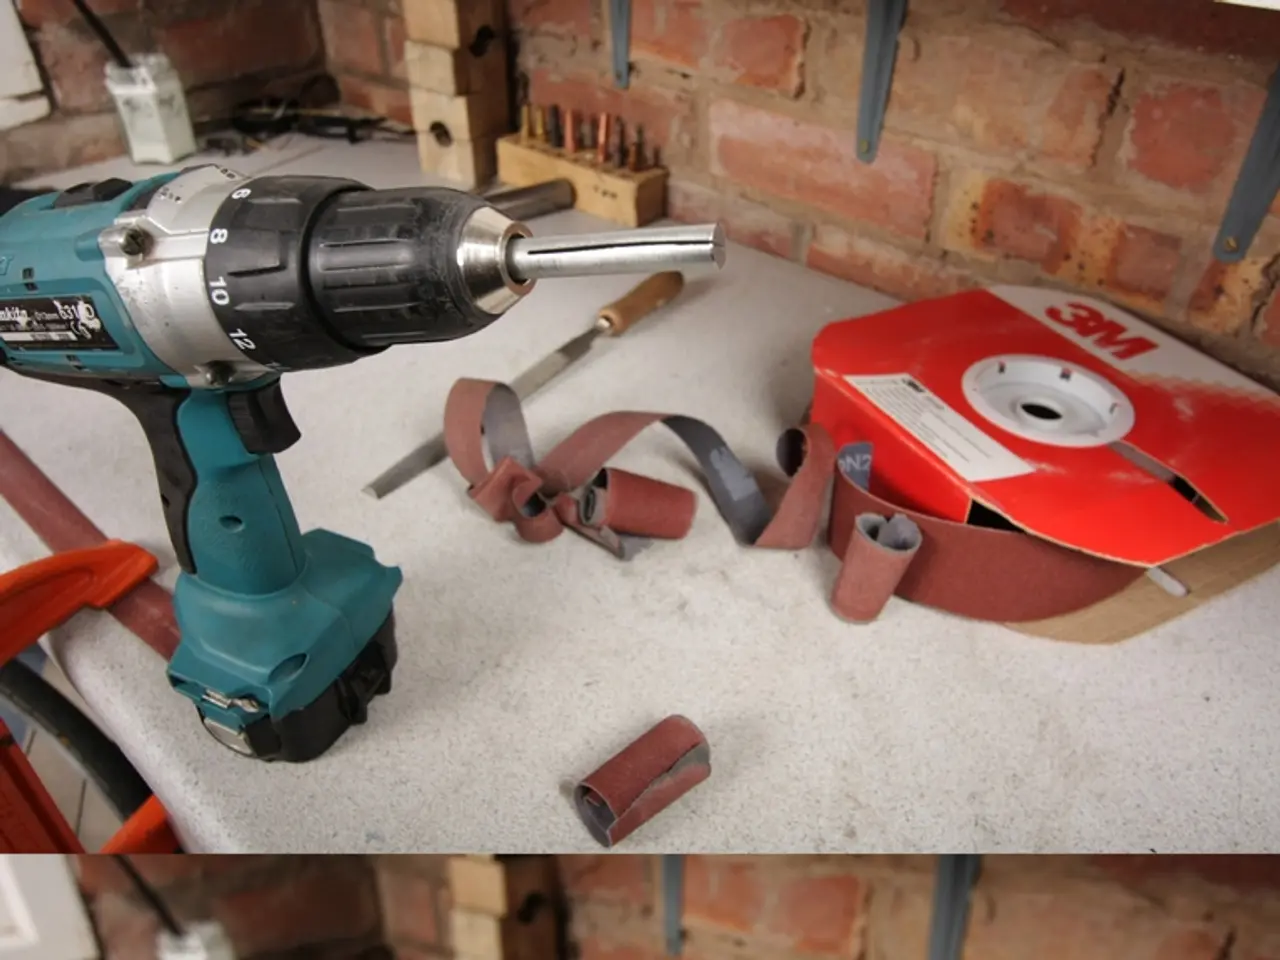
When it comes to drilling into plasterboard, the right size hole is key. The hole should usually be as small as the fixing allows. A 13-piece kit of general-purpose metal drill bits is suitable for this purpose. However, masonry drill bits should be avoided as they are too strong and will damage the plasterboard.
Specially designed plasterboard wall plugs should be used instead of traditional Rawl plugs for a secure fixing in plasterboard. Toggle bolts, popular for their winged design, are recommended for hanging heavy objects on plasterboard walls, providing a reliable and secure anchor.
A versatile all-round cordless combi drill is recommended for DIYers for drilling into plasterboard. Using masking tape over the drilling area can provide a compact and strong surface when drilling into plasterboard.
Remember, it's not safe to insert a screw directly into plasterboard without a fixing. The board isn't structurally strong enough to hold the weight on its own. A stepped bit can help keep the hole neat when drilling into plasterboard.
Toggle bolts are typically suitable for up to 20-30kg, and a more specialized fixing like the Bullfix TV Mounting Kit from B&Q can hold up to 116kg.
For those looking to tile, paint, or fill holes in their plasterboard, guides are available to help you achieve professional results. Happy DIY-ing!
- In DIY projects, it's crucial to distinguish plasterboard walls using the pushpin test, the knock test, or visual inspection for nail dimples.
- Before drilling into plasterboard, use an electronic stud, pipe, and wire detector to avoid damaging electrical wiring and plumbing.
- When locating electrical outlets and switches, the knock test can help identify the stud side by detecting a solid sound.
- Measuring in 16-inch increments can help predict stud locations, while visually inspecting trim or baseboards can also be useful.
- For drilling into plasterboard, a 13-piece kit of general-purpose metal drill bits is recommended, and masonry drill bits should be avoided.
- Specially designed plasterboard wall plugs or toggle bolts should be used for a secure fixing, with toggle bolts being ideal for hanging heavy objects on plasterboard walls.


