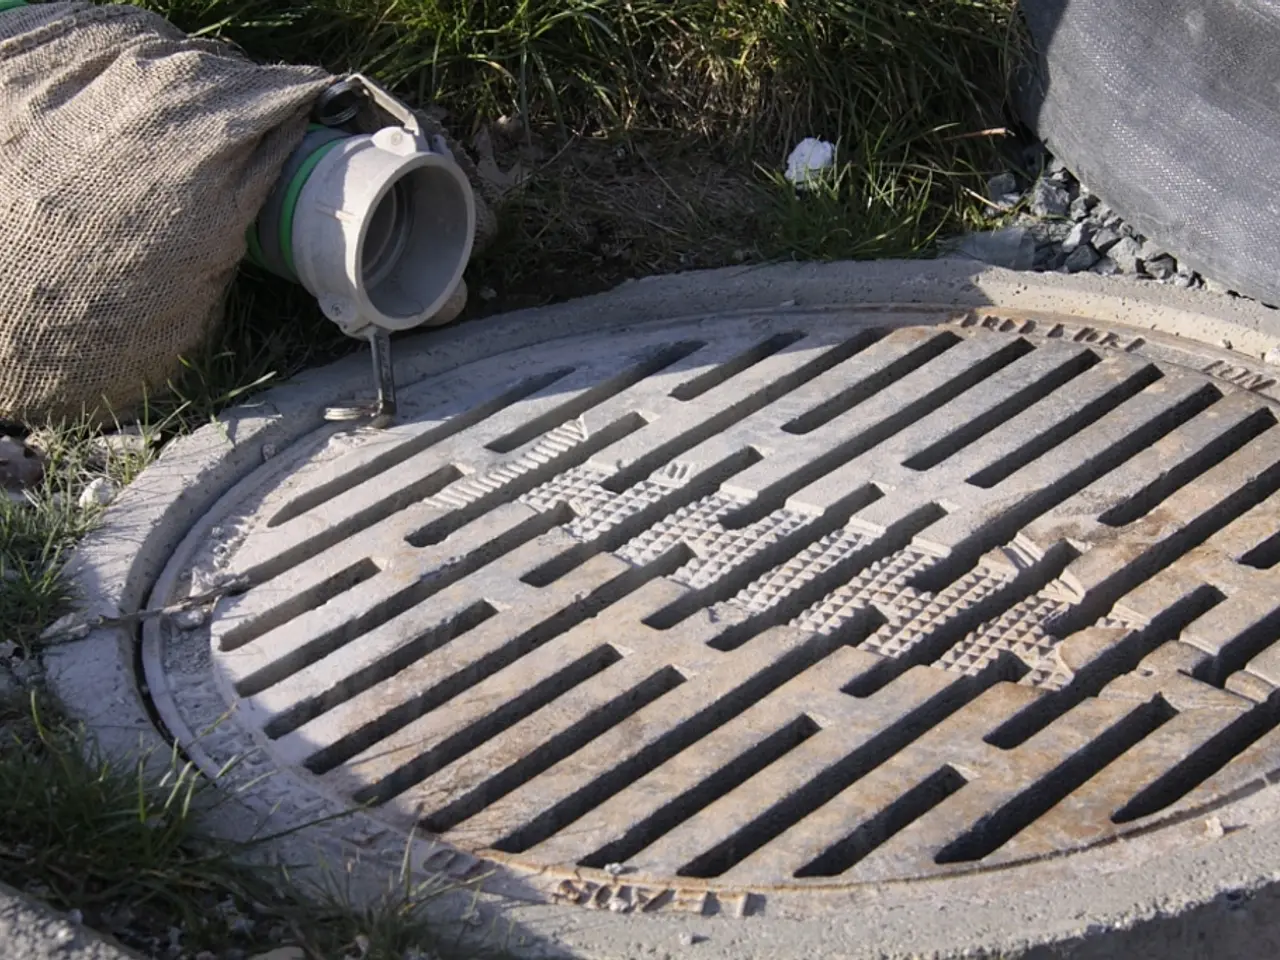
A French drain might prevent your garden from inundation - learn about its operation here
A French drain is a practical solution for redirecting surface water and groundwater away from your property or garden, preventing pooling and erosion issues. This DIY-friendly project can help you manage waterlogging in your garden effectively. Here's a step-by-step guide to installing a French drain in your garden.
**Step 1: Assess and Plan**
Identify where water is collecting in your garden and determine where the water should be directed (outlet point). Walk your yard after rain to pinpoint problem areas and plan the trench layout accordingly.
**Step 2: Dig the Trench**
Excavate a trench along the planned route with a consistent downward slope toward the outlet to ensure water flow. The trench is usually about 6 inches wide and 18-24 inches deep, but dimensions depend on the volume of water to be handled.
**Step 3: Prepare the Trench Base**
Line the trench with landscape or filter fabric to prevent soil intrusion and lay a 3-inch layer of coarse gravel or crushed stone for bedding. Compact this gravel layer to provide a stable base for the pipe.
**Step 4: Install the Perforated Pipe**
Use a perforated drainage pipe (PVC or flexible drainage hose) and lay it on top of the gravel with the perforations facing downward. Connect pipe segments and fittings as needed, ensuring a continuous slope toward the outlet. An inlet grate can be installed at the primary water collection point.
**Step 5: Cover the Pipe With Gravel**
Cover the pipe with about 3 inches of gravel or crushed stone, but do not exceed ground level. This gravel helps water flow into the pipe and filters debris.
**Step 6: Wrap and Backfill**
Fold over excess filter fabric on top of the gravel to prevent soil from clogging the system. Then backfill the trench with soil, compacting it to restore your garden’s surface. Temporarily cover inlet grates during backfilling to protect from debris.
**Step 7: Test the Drainage**
Pour water into the inlet grate to check that water flows smoothly through the drain toward the outlet without pooling or blockage.
**Additional Considerations**
- Proper slope is critical for efficient drainage; typically about 1% (1 foot drop per 100 feet of pipe). - Use quality materials: durable perforated pipe, clean gravel, and good filter fabric for longevity and performance. - Maintenance includes periodic checking for clogs or sediment buildup to keep the drain functional over time.
These steps provide a functional DIY French drain installation suitable for garden areas to redirect excess water away and prevent pooling or erosion issues.
Remember, before starting the project, consider local building rules and regulations, and seek professional advice if the installation appears complex or if the drainage issues are severe. Consulting with a landscaper or drainage specialist can ensure that your French drain is installed correctly and efficiently addresses your property's specific needs.
French drains can be visible or hidden, with options to cover them with turf or decorative gravel to match landscaping. Always test the drain by pouring water or waiting for rain, and maintain it regularly to prevent clogs.
A French drain is a less effective solution for a flat garden, but is a great drainage solution for sloping gardens. The process of installing a French drain can be fiddly, so it's best to set aside a weekend to dig the trench properly and ensure that the drain is in the right position.
A French drain is not suitable for perfectly flat gardens, as it needs a gradient to work effectively. French drains are sloped to allow water to flow away from flooding areas and are directed to a more suitable area like a soakaway. It's important to position the French drain to slope away from the problem area, and optionally, incorporate catch basins or pop-up emitters for surface runoff.
French drains work by channelling water through drainage gravel into the perforated pipe, where the water is carried and redirected to a discharge point. By following these steps, you can efficiently manage waterlogging in your garden and protect your property from flooding.
Incorporating a French drain into your home-and-garden lifestyle can be an effective solution for managing waterlogging in your garden. Inside the world of cleaning hacks and gardening tips, French drains are known for channelling water through drainage gravel into a perforated pipe, redirecting it from flooding areas and preventing pooling or erosion issues. Maintaining a French drain can become part of your regular gardening routine, ensuring that it remains clog-free over time.


